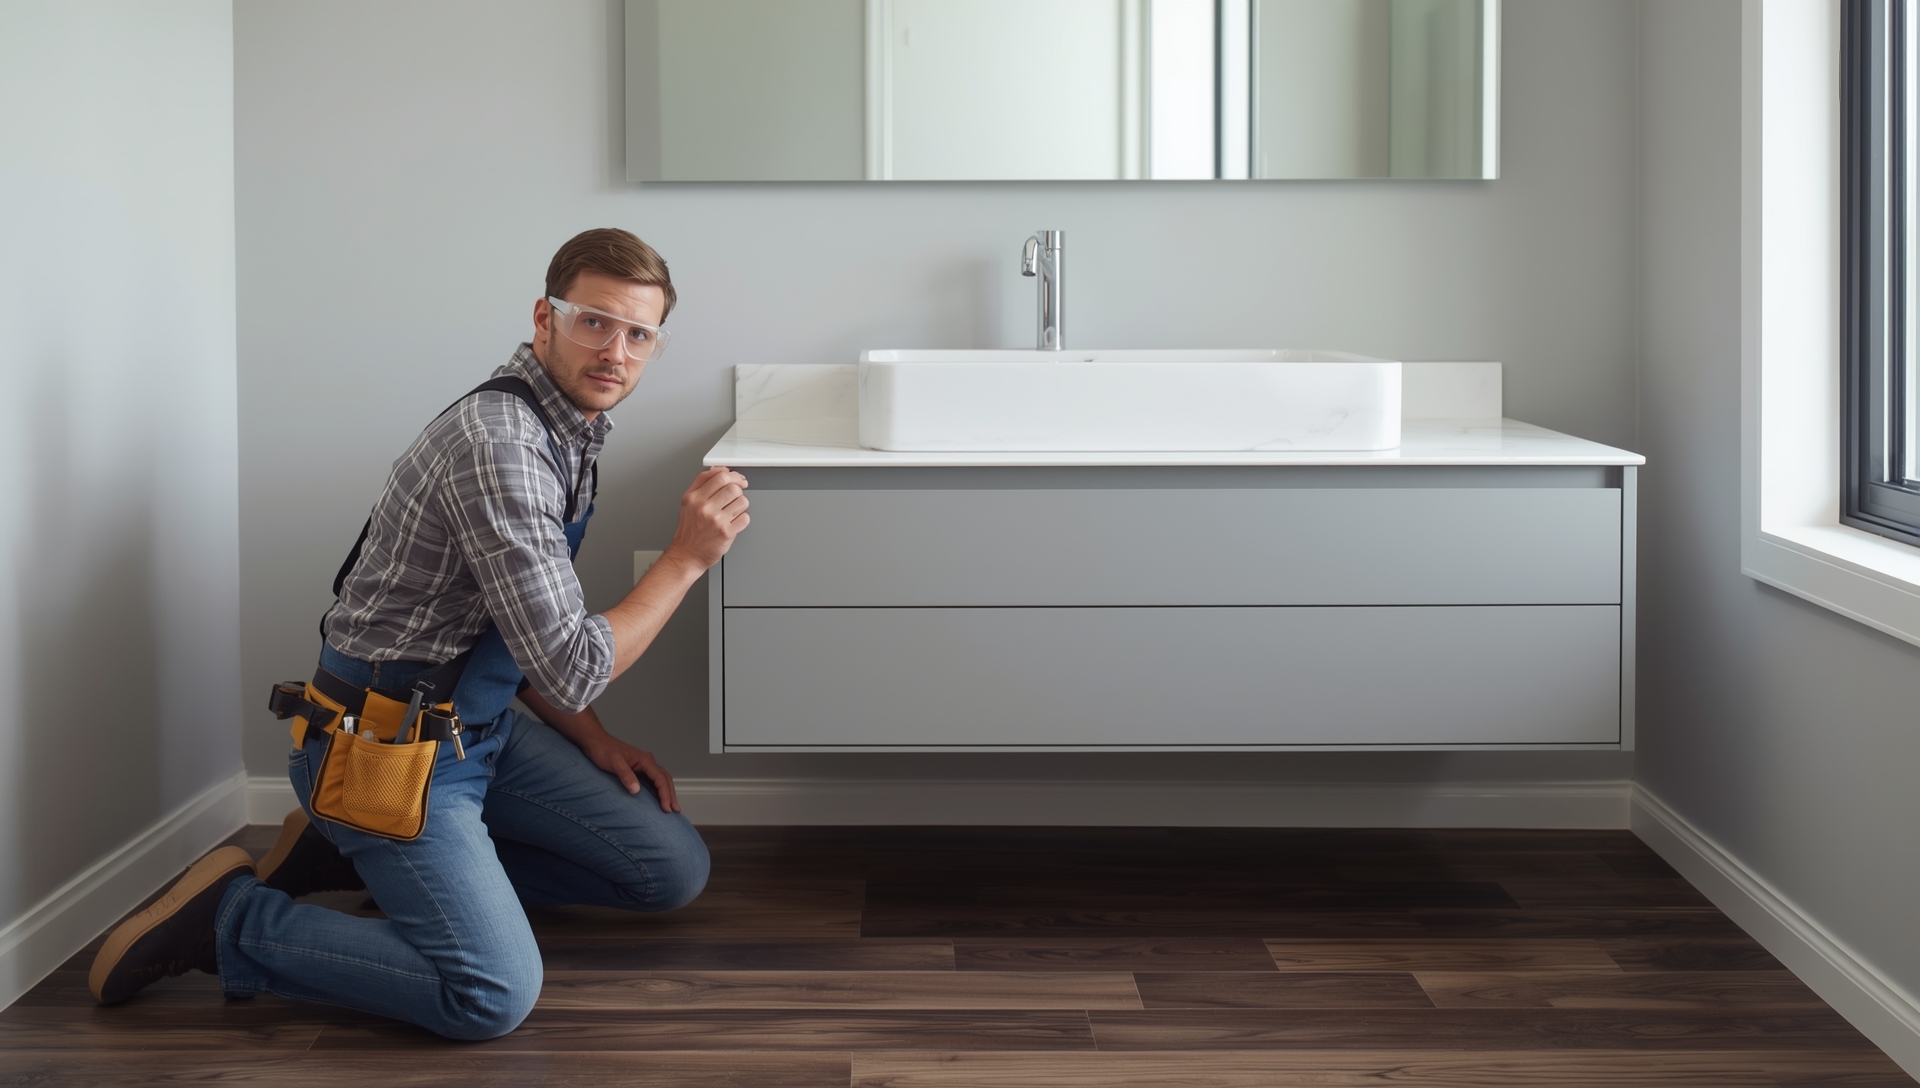
Dreaming of a chic bathroom makeover? Installing a floating vanity for bathroom is easier than you think. Find out how with our guide. Visit us!
Installing a floating vanity for bathroom spaces has become one of the most popular home improvement projects for modern homeowners. This sleek, space-saving solution not only creates the illusion of a larger bathroom but also adds a contemporary touch that elevates your entire space. Whether you’re planning a complete bathroom renovation or simply want to update your existing setup, learning how to install floating vanity for bathroom can transform your daily routine while maximizing both style and functionality.
A floating vanity and sink combination offers numerous advantages over traditional floor-mounted units, including easier cleaning, improved moisture resistance, and customizable height options. The wall-mounted design creates an open, airy feeling that makes even the smallest bathrooms appear more spacious. With proper planning and the right tools, this DIY project can be completed in a weekend, giving you professional results at a fraction of the cost.
Understanding the Benefits of Floating Vanity Bathroom Installations
Before diving into the installation process, it’s essential to understand why floating vanity bathroom setups have gained such popularity among interior designers and homeowners alike. The elevated design creates visual breathing room, making your bathroom feel larger and more luxurious. Unlike traditional vanities that sit directly on the floor, floating vanity sink combinations eliminate the common problem of water damage and mold growth around the base.
The versatility of a floating vanity with sink allows for complete customization of height, typically ranging from 28 to 36 inches from floor to countertop. This adjustability ensures comfortable use for all family members while maintaining the sleek aesthetic that modern bathrooms demand. Additionally, the open space beneath provides excellent storage opportunities for decorative baskets, towels, or cleaning supplies.
Essential Tools and Materials for Your Floating Vanity Installation
Proper preparation is crucial when learning how to install floating vanity for bathroom applications. Gather these essential tools before beginning your project: a high-quality stud finder, level, drill with various bits, measuring tape, pencil for marking, screwdriver set, adjustable pliers for plumbing connections, and silicone caulk for waterproofing.
For materials, you’ll need heavy-duty mounting brackets or a ledger board system, appropriate screws for wall studs, wall anchors if necessary, construction adhesive, and waterproof sealants. The floating vanity sink unit itself should come with manufacturer-specific mounting hardware, but always verify that all components are included before starting your installation.
Step 1: Planning and Measuring Your Floating Vanity Bathroom Space
Begin your floating vanity for bathroom installation by carefully measuring the available wall space and determining the optimal height for your unit. Standard installations place the countertop between 30-32 inches from the floor, but this can be adjusted based on user preferences and existing plumbing locations.
Use your stud finder to locate and mark all wall studs within the installation area. These structural elements will provide the primary support for your floating vanity and sink, so accurate identification is crucial for a safe, long-lasting installation. Mark the stud locations with a pencil, extending the marks above and below your planned vanity height.
Consider the rough-in measurements for your plumbing connections. Drain pipes typically emerge from the wall 18-20 inches from the floor, while water supply lines are positioned 22-24 inches high. Ensure your chosen floating vanity bathroom design accommodates these existing connections or plan for necessary plumbing modifications.
Step 2: Preparing the Wall Surface and Installing Support Systems
Wall preparation is a critical step when installing any floating vanity for bathroom use. Clean the wall surface thoroughly and check for any irregularities that might affect the mounting process. If you’re working with tile walls, use specialized carbide-tipped drill bits and apply painter’s tape to prevent chipping during drilling.
For maximum stability, especially with larger floating vanity sink combinations, consider reinforcing the wall by adding a plywood backing between the studs. This extra support distributes the weight more evenly and provides additional mounting points for your brackets.
Install your mounting system according to the manufacturer’s specifications. Heavy-duty L-brackets or French cleat systems work well for most floating vanity bathroom applications. Ensure all mounting points align with wall studs and use a level to verify that your support system is perfectly horizontal.
Step 3: Creating the Perfect Floating Vanity and Sink Configuration
If you’re building a custom floating vanity with sink, now is the time to prepare your vanity top. Cut your chosen material to size, ensuring smooth, straight edges that will create clean lines against the wall. Popular materials include solid wood with waterproof sealants, engineered wood products, or composite materials designed for bathroom use.
Mark and cut the opening for your vessel sink or undermount basin using appropriate tools. A 2-inch hole saw works well for most drain connections, while larger openings may require a jigsaw with a fine-tooth blade. Sand all cut edges smooth and apply waterproof sealant to prevent moisture damage.
For DIY floating vanity projects, consider adding a curved front edge or decorative details that complement your bathroom’s overall design. These custom touches can elevate your floating vanity bathroom from functional to fabulous while maintaining the clean, modern aesthetic.
Step 4: Waterproofing and Finishing Your Floating Vanity Surface
Proper waterproofing is essential for any floating vanity for bathroom installation. Apply a high-quality epoxy coating or marine-grade polyurethane to all exposed wood surfaces, paying special attention to cut edges and the area around the sink cutout. This protection prevents water damage and extends the life of your floating vanity sink setup.
Mix epoxy according to manufacturer instructions and apply with a high-quality foam brush, working in thin, even coats. Allow each layer to self-level and remove any air bubbles with a heat gun or torch. The curing process typically takes 48-72 hours, so plan your project timeline accordingly.
While the finish cures, prepare any storage components or decorative elements you plan to include with your floating vanity bathroom design. Internal drawers, shelves, or hidden compartments can be pre-finished during this waiting period.
Step 5: Mounting Your Floating Vanity and Making Plumbing Connections
Apply construction adhesive to the top surface of your mounting brackets before positioning the vanity top. Carefully align the unit with your level marks and press firmly into place. Use temporary supports or weights to hold the floating vanity and sink assembly while the adhesive cures, typically 24 hours for full strength.
Once securely mounted, install your chosen sink according to manufacturer instructions. Apply a continuous bead of silicone sealant around the drain opening and sink perimeter to create a watertight seal. This step is crucial for preventing water damage to your floating vanity bathroom.
Connect the drain assembly first, ensuring proper alignment with existing plumbing. P-traps or bottle traps work well with most floating vanity sink configurations and can be adjusted to accommodate the wall-mounted design. Follow with hot and cold water supply connections, using flexible supply lines for easier installation and future maintenance.
Step 6: Testing and Adjusting Your Floating Vanity Installation
Before considering your floating vanity for bathroom project complete, thoroughly test all plumbing connections for leaks. Run water at various pressures and check all joints, paying particular attention to the drain connection and supply line fittings. Address any issues immediately to prevent water damage to your new floating vanity bathroom.
Test the structural integrity of your installation by applying gentle pressure to different areas of the floating vanity with sink. The unit should feel solid and stable with no movement or flexing. If you notice any issues, reinforce mounting points or consult a professional for additional support options.
Verify that all storage components, doors, and drawers operate smoothly and that the floating vanity sink height is comfortable for daily use. Make any necessary adjustments now, as modifications become more difficult once the installation is fully complete.
Step 7: Adding Final Details and Maintenance Considerations
Complete your floating vanity bathroom installation with careful attention to finishing details. Apply high-quality silicone caulk along all seams where the vanity meets the wall, creating clean lines that prevent water infiltration. Choose a caulk color that matches your vanity or wall finish for the most professional appearance.
Install any additional lighting, mirrors, or accessories that complement your new floating vanity and sink combination. Under-cabinet LED lighting can create a dramatic floating effect while providing practical task illumination.
Regular maintenance ensures your floating vanity for bathroom continues looking and functioning like new. Inspect mounting hardware periodically for any signs of loosening or wear, and address issues promptly to maintain structural integrity. Clean surfaces with appropriate products for your chosen finish, avoiding harsh chemicals that might damage waterproof coatings.
Design Variations and Customization Options
Modern floating vanity bathroom designs offer endless customization possibilities to match any decor style. Consider these popular variations: matte black finishes for contemporary spaces, natural wood grains for organic warmth, or high-gloss white for classic elegance. Double sink configurations work beautifully in larger bathrooms, providing individual space while maintaining the floating aesthetic.
Storage solutions can be integrated seamlessly into your floating vanity with sink design. Deep pull-out drawers maximize space efficiency, while open shelving below creates display opportunities for decorative items or frequently used supplies. Hidden compartments keep personal items out of sight while maintaining easy access.
Color coordination between your floating vanity sink and surrounding elements creates visual harmony. Match hardware finishes to faucets and lighting fixtures, and consider how countertop materials complement wall colors and tile selections.
Frequently Asked Questions
How to install floating vanity? Follow the seven steps outlined above, ensuring proper wall stud mounting, waterproof sealing, and secure plumbing connections for best results.
What are the cons of a floating vanity? Potential drawbacks include limited storage compared to floor units, higher installation complexity, and the need for strong wall support systems.
How much height can a floating vanity holds? Properly installed floating vanities can typically support 220 pounds when mounted to wall studs with appropriate hardware.
How to build floating vanity? Create a custom unit using moisture-resistant materials, proper waterproofing techniques, and professional-grade mounting systems for durability.
How to hang floating vanity for Bathroom? Use heavy-duty brackets mounted directly into wall studs, ensuring level installation and adequate support for the vanity weight.
Floating vanity for bathroom vs standard? Floating units offer space-saving benefits and easier cleaning, while standard vanities provide more storage and simpler installation.
Is a floating vanity a good idea? Yes, floating vanities maximize space, create modern aesthetics, and simplify bathroom cleaning while providing excellent functionality.
What are the problems with floating vanity? Common issues include inadequate wall support, plumbing access challenges, and potential installation complexity for DIY projects.
How do you support a floating vanity? Use wall stud mounting with heavy-duty brackets or French cleat systems, optionally reinforced with backing boards for extra strength.
Who makes the best floating vanities? Quality manufacturers include IKEA, Home Depot house brands, Wayfair selections, and custom cabinet makers for personalized solutions.
Conclusion
Installing a floating vanity for bathroom use represents an excellent investment in both style and functionality for modern homes. This comprehensive guide provides all the essential information needed to complete a professional-quality installation while avoiding common pitfalls that can compromise safety or aesthetics.
The combination of space-saving design, cleaning convenience, and customization options makes floating vanity bathroom installations increasingly popular among homeowners seeking contemporary updates. With proper planning, quality materials, and careful attention to installation details, your new floating vanity and sink will provide years of reliable service while enhancing your bathroom’s overall appeal.
Remember that while this project can be completed as a DIY installation, don’t hesitate to consult professionals for complex plumbing modifications or if you encounter structural challenges. The investment in expert assistance ensures your floating vanity with sink operates safely and maintains its stunning appearance for years to come.


